
SAMLite Installation and Initial Setup |
|
|
|
|
|
|
|
Build 2.2.0.50
|
SAMLite Installation and Initial Setup |
|
|
|
|
|
|
|
Build 2.2.0.50
|
Table of Contents
1.2 SAMLite Database Configuration
2.1 Changing the Administrator password
2.2 Configuring the SAMLite Shared Folder
2.3 Installing and using a SAMLite Server license file.
3.1 Scanning unconnected machines
4.1 SAMScanConfig.txt settings
4.2 Event Log Advanced Settings
Before running the Installer please ensure that the SAMLite System Requirements are met. You can refer to the SAMLite Requirements.pdf for the SAMLite System requirements.
Run the SAMLite installer (e.g. SAMLiteSetup.exe )
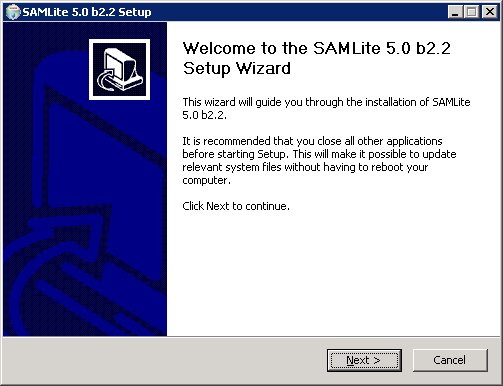
Click on Next
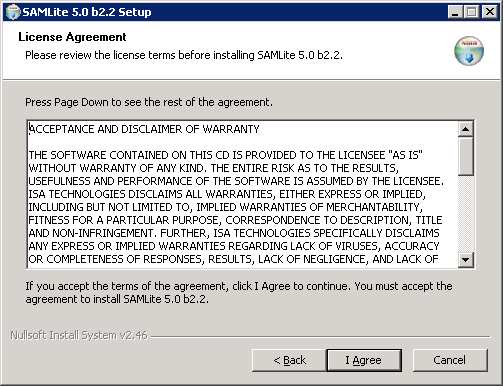
Click on I Agree if you agree to the terms.

Click on Next

Set the Destination Folder or accept the default and click Install.
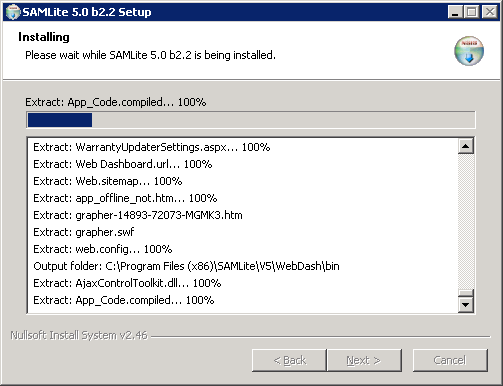
The extraction will start.
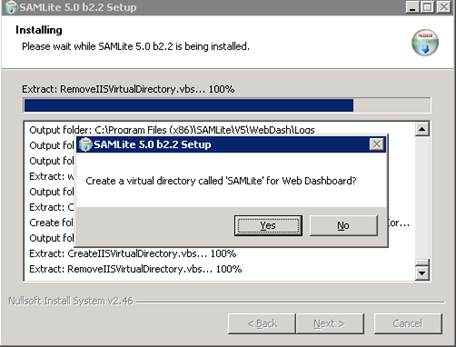
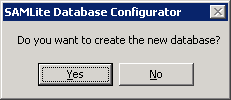
Click Yes
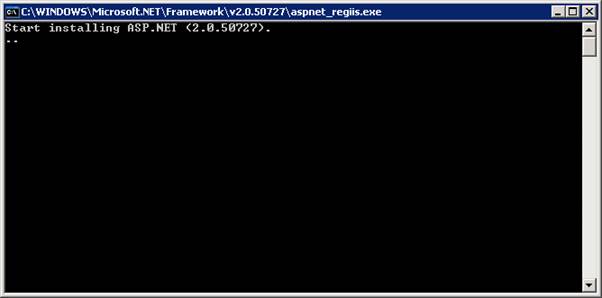
Please wait while ASP.Net is being set up.
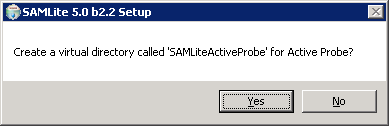
Click Yes.
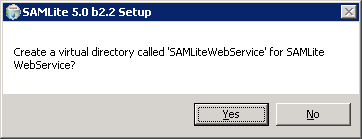
Click Yes.
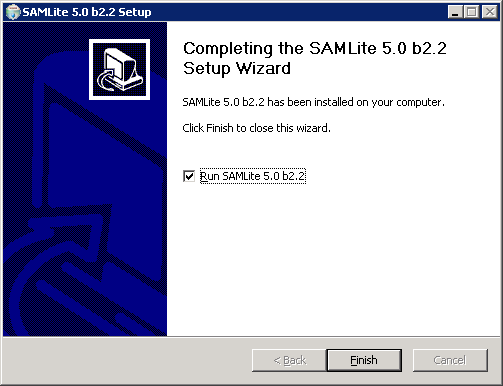
Click Finish.
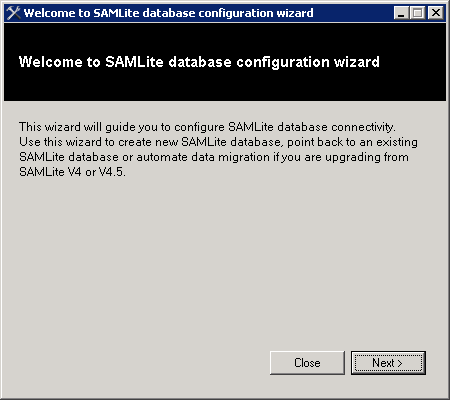
You will now proceed to the SAMLite Database configuration step.
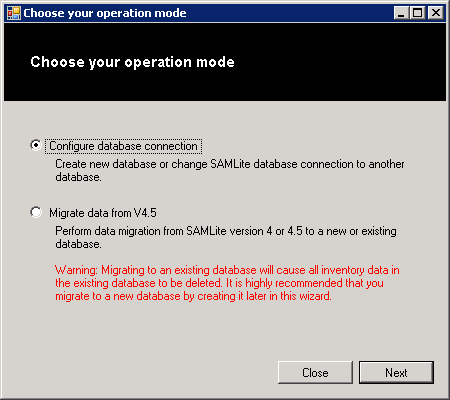
Click Next.
Click Next
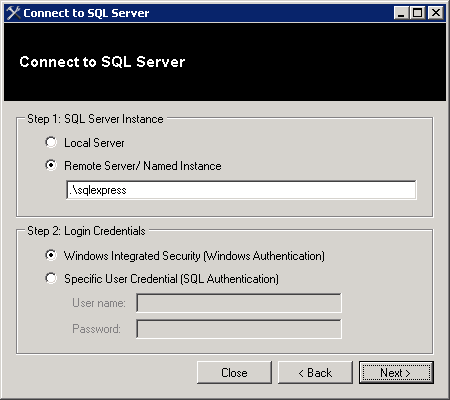
Keep the defaults and click Next if the SQL Server is the Express Edition and on the same machine.
Otherwise click on Local Server if the SQL Server is the Standard Edition and on the same machine.
Or enter the path to the SQL Server Instance and the appropriate credentials to connect to it.
Click Next.
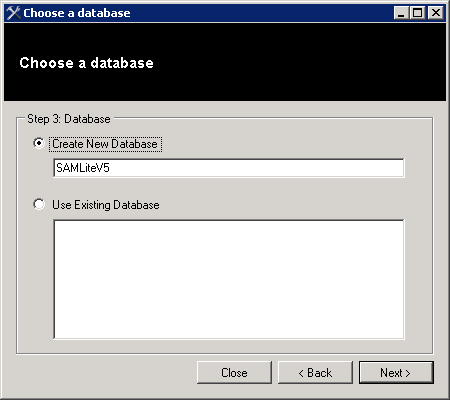
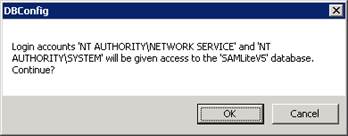
Click Yes
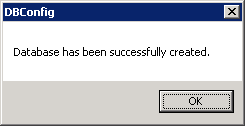
Click OK.
Click OK.
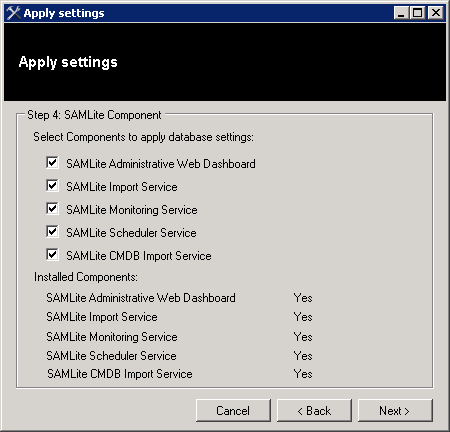
Click Next to apply the DB settings to the SAMLite modules.
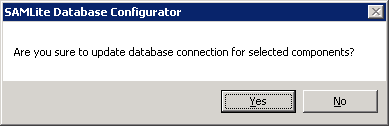
Click Yes to confirm.
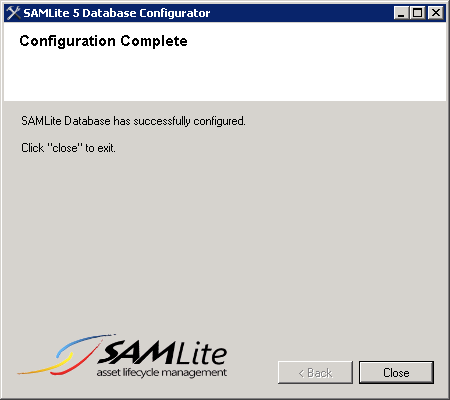
Click close
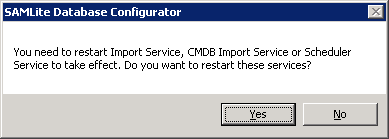
Click Yes
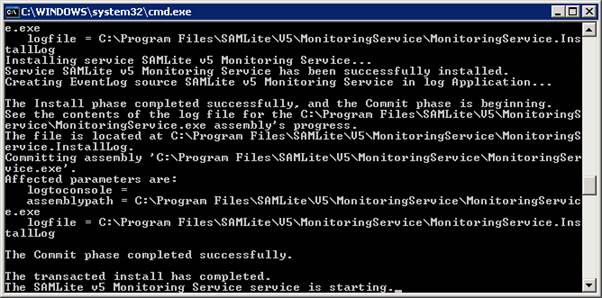
You will see messages like the above, this is normal.
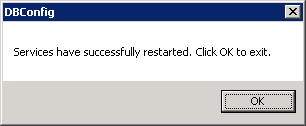
Click OK.
You have now completed the SAMLite installation and the SAMLite database configuration.
The SAMLite Web Dashboard is the web-based interface for using SAMLite.
To go to the SAMLite Web Dashboard open http://TheSAMLiteServerAddress/SAMLite/
(replace TheSAMLiteServerAddress with the address of the SAMLite server).
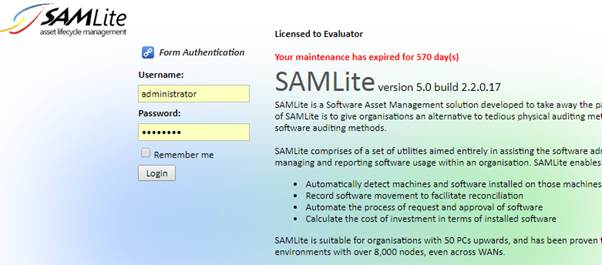
The default admin credentials are: Administrator and password
Enter them and click on Login.
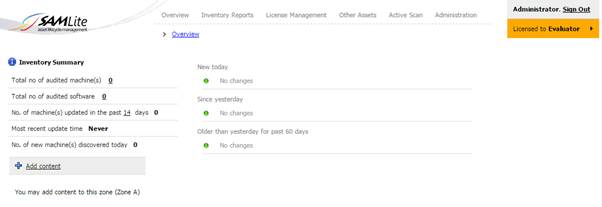
You should see something like the following:
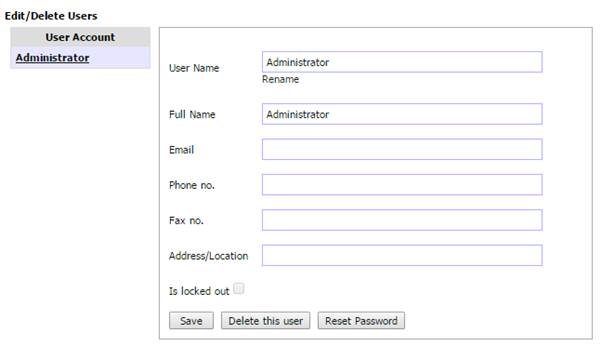
To change the password, click on Administration, and look for the Users & Roles section
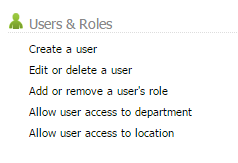
Then click on Edit or Delete a user
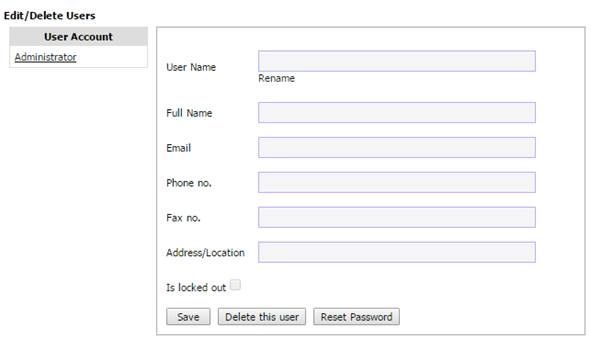
Select Administrator
Select Reset Password
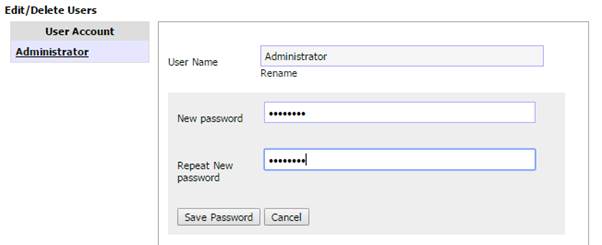
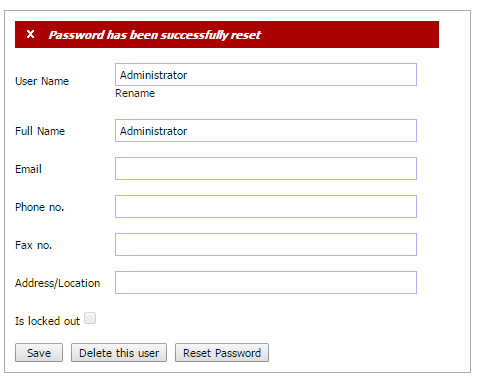
Enter the new password and confirmation, and click on Save Password.
The SAMLite Shared Folder is where all the scan report files are written to.
Go to Administration, System Settings
Select Configure Share Folder
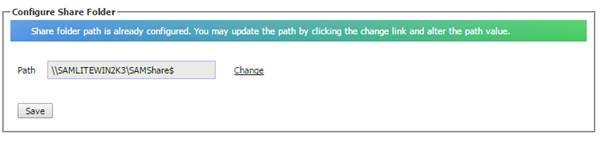
If the SAMLite server address/name is not correct click on Change and change it and then click Save.
If you have a SAMLite license file you will need to install it to use it.
Go to Administration, System Settings
Select Manage SAMLite licenses

Click on choose file
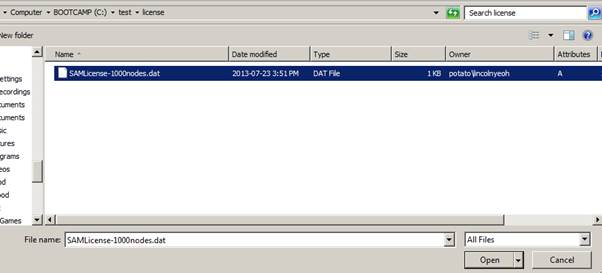
Locate the SAMLite license file and click open

Click ![]() Upload
License.
Upload
License.
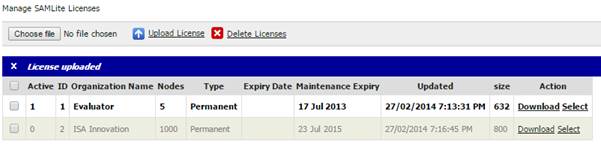
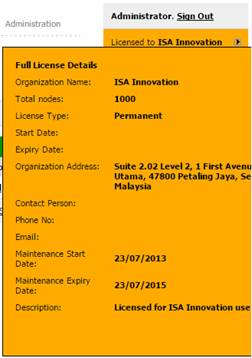
The license should be uploaded. Now click on Select to use the uploaded license.

Click OK.

After a short while the license should be selected.
If you click on the arrow in the top right you can see the license details:
You can download the latest SAMLite scan script from:
https://www.samlite.net/samlite/downloads/SAMLiteScan.zip
Unzip the SAMLiteScan.zip to a folder
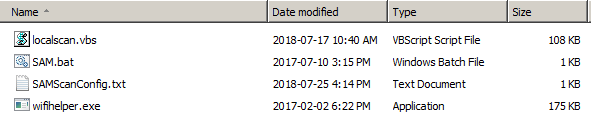
Then edit SAMScanConfig.txt
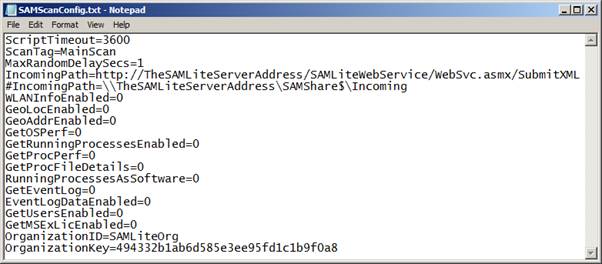
Change SAMLiteServerAddress to the SAMLite server address. Save the changes.
Note: if you want to use https (recommended) you will have to get a valid HTTPS certificate for the samlite server’s address and configure IIS to use it for the SAMLite web apps.
These three files are then used for scanning machines.
1. The localscan.vbs file is the actual scanning script.
2. The SAMScanConfig.txt is the configuration file that localscan.vbs uses to get settings. For more information see Appendix, SAMScanConfig.txt settings.
3. The sam.bat is a batch file that calls the localscan.vbs file (for convenience).
If you copy these three files to a folder on a file share or USB drive then run sam.bat, the machine that you run sam.bat on while be scanned and the scan results will be copied to the IncomingPath.
To use these files as logon scripts or scheduled tasks in Active Directory consult the “Active Directory Configuration” documentation.
To scan machines that are not connected to the network or cannot reach the SAMLite server, edit the SAMScanConfig.txt file and remove the IncomingPath line (you may also wish to change the ScanTag so that you know that the scanning is done manually):
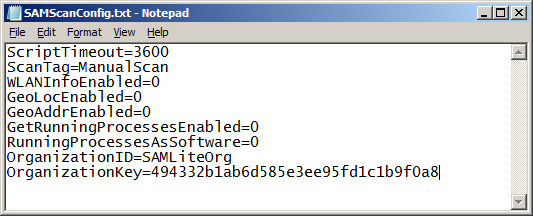
Next create a Data folder:
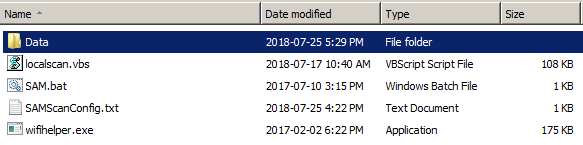
Next copy these files and Data folder to a USB drive. Then plug in the usb drive to each machine and run sam.bat
The scan results will be stored in the Data folder.
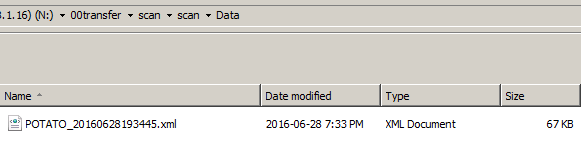
You can then move/copy the xml files to the SAMLite Server’s IncomingPath and they will be processed as normal.
Lines starting with # are ignored and may be used for comments or for commenting out settings.
|
Setting Name |
Description |
|
ScriptTimeout |
The maximum number of seconds the script is allowed to run for |
|
ScanTag |
Text for distinguishing between different scans e.g. manual scans, different scheduled task scans. |
|
MaxRandomDelay |
Delay scan by a random time up to MaxRandomDelay seconds. Use this to spread out when the scan occurs. |
|
IncomingPath |
The destination for scan results. Replace TheSAMLiteServerAddress with the name or address of your SAMLite server. |
|
WebConfigURL |
http://[SAMLiteServerAddress]/SAMLiteWebService/handler.ashx |
|
WLANInfoEnabled |
Set to 1 to enable gathering of WiFi info which is used for GeoLocation. |
|
GeoLocEnabled |
Set to 1 to enable GeoLocation (must set WLANInfoEnabled=1 and specify GoogleAPIKey too) |
|
GoogleAPIKey |
The Google Geolocation API key for converting WiFi information to latitude and longitude. You will need to sign up for one with Google (which may be chargeable depending on usage). See the Google API Keys section for more information. |
|
GeoAddrEnabled |
Set to 1 to enable getting street addresses – requires GoogleAPIKey2 to be specified |
|
GoogleAPIKey2 |
The Google Geocoding API key for converting latitude and longitude location to street addresses. See the Google API Keys section for more information. |
|
GetOSPerf |
Set to 1 to enable gathering of OS performance information. |
|
GetRunningProcessesEnabled |
Set to 1 to gather information about running processes. This can slow down scanning and increase bandwidth usage significantly. |
|
GetProcPerf |
Set to 1 to gather process performance information |
|
GetProcFileDetails |
Set to 1 to gather file information of running processes |
|
RunningProcessesAsSoftware |
Set to 1 to report running processes as a software ( the publisher will be ISA-Running-Processes) |
|
GetEventLog |
Set to 1 to gather Windows Event Log information. This can slow down scanning and increase bandwidth usage significantly. See the Event Log Advanced Settings section for more information. |
|
GetUsersEnabled |
Set to 1 to gather local user account information (e.g. LastLogon, Disabled status). This can slow down scanning in some scenarios. |
|
GetMSExLicEnabled |
Set to 1 to attempt gathering of Microsoft Exchange License information. |
|
OrganizationID |
If changed needs to match OrganizationID set in the SAMLite server’s WebService web.config |
|
OrganizationKey |
If changed needs to match OrganizationKey set in the SAMLite server’s WebService web.config |
|
Setting Name |
Description |
|
EventLogMaxLogs |
Maximum number of event logs to fetch. Default=500 |
|
EventLogMaxDays |
Maximum number of days of event logs to fetched. Default=90. |
|
EventLogBootTimeOffset |
The number of days before the machine boot up time to get event logs. Default=1 |
|
EventLogDataEnabled |
Set to 1 to get the extra Event Data |
|
EventLogMaxMsgLen |
Event messages longer than this will be truncated. Default=500 |
|
EventLogMaxDataLen |
Event Data longer than this will be truncated. Default=500 |
|
EventLogWhere |
Set to customize the “Where” clause used to select event logs. |
|
EventLogWhereAdd |
Set to add “Where” clauses to the default Where clause used to select event logs. |
The default EventLogWhere is:
(TimeGenerated >= '[MinDate]') and (TimeGenerated >= '[BootUpTime]') and (Logfile = 'System') and (SourceName <> 'Microsoft-Windows-Time-Service') and ((SourceName='Microsoft-Windows-Power-Troubleshooter' and EventCode = '1') or ( SourceName='Microsoft-Windows-Kernel-General' and (EventCode = '1' or EventCode = '12' or EventCode = '13')) or ( SourceName='Microsoft-Windows-Kernel-Power' and (EventCode = '42' or EventCode = '109')) or (EventType < 3 and (SourceName='EventLog' or SourceName='Microsoft-Windows-Kernel-General' or SourceName='Microsoft-Windows-Kernel-Power' or SourceName='disk' or SourceName='Microsoft-Windows-Disk' or SourceName='Ntfs' or SourceName='Microsoft-Windows-FailoverClustering' or EventCode='9' or EventCode='11' or EventCode='15' or EventCode='54' or EventCode='129')))
In the “where” string there are placeholder strings [MinDate] and [BootUpTime] which are replaced as follows:
[MinDate] => is the time EventLogMaxDays days before the machine scan time
[BootUpTime] => is the time EventLogBootTimeOffset days before the machine last boot up time.
This default fetches shutdown, startup, wake, sleep and time change events. It also fetches Warning and Error events from the kernel, disk, Ntfs or FailoverClustering event sources. Only events after [MinDate] and [BootUpTime] are fetched (whichever is later).
Specifying a custom EventLogWhereAdd allows you to use the existing EventLogWhere while adding other criteria or clauses that you want.
SAMLite can use two Google API Keys. The Geolocation API Key is used for converting WiFi information to latitude and longitude information. The Geocoding API key is used for converting latitude and longitude to a street or building address.
To obtain these keys you need to sign up with Google Maps Platform. You will also need to provide valid credit card information to Google. Currently Google gives free usage up to a certain amount. You can set quotas to control costs. However if the limits are hit it means that the fetching of location and/or address information from Google would fail till the next quota period or the quota is increased.