
Active Directory Configuration |
|
|
|
|
|
|
|
Build 2.2
|
Active Directory Configuration |
|
|
|
|
|
|
|
Build 2.2
|
Table of Contents
1 Creating a folder in NETLOGON for SAMLite scan scripts
2 Setting up Scheduled Tasks scanning
2.1 Creating the SAMLiteScan Group Policy Object
2.2 Setting up Scheduled Scans for Windows Vista/2008
2.3 Setting up Scheduled Scans for Windows 7 and later
3 Setting up Logon Script Scanning
3.1 Creating the SAMLiteLogonScan Group Policy Object
3.1.1 Copy Logon script files to the Group Policy Object
4 Creating a WMI Filter for Windows XP and 2003
4.1 Applying the WMI Filter to the SAMLiteLogonScan GPO
5 Excluding Computers from the SAMLiteScan policy
Logon to your AD Server and go to the NETLOGON folder. The NETLOGON folder normally is:
C:\Windows\SYSVOL\sysvol\domain\scripts
Create a folder in scripts called SAMLite. Example:
C:\Windows\SYSVOL\sysvol\domain\scripts\SAMLite
Next, logon to your SAMLite server.
Go to:
C:\Program Files (x86)\SAMLite\V5\WebDash\LoginScripts
Edit the SAMScanConfig.txt file
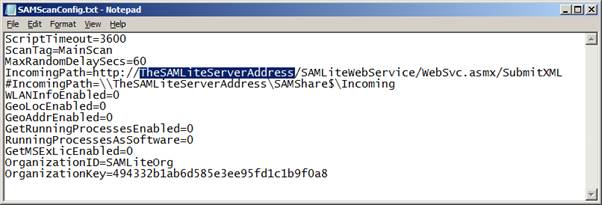
Replace TheSAMLiteServerAddress in the IncomingPath with the correct IP address or the working fully qualified domain name for the SAMLite server. Replace http with https if you wish to use https and have set up https and have a valid https certificate installed.
Copy the following files to C:\Windows\SYSVOL\sysvol\domain\scripts\SAMLite
SAM.bat
localscan.vbs
SAMScanConfig.txt
wifihelper.exe
The wifihelper.exe file is only useful if you are going to use the geolocation features. It rescans the WiFi information so that the machine’s geographical location can be more accurate.
The Scheduled tasks scan only works for Windows Vista/2008 and later machines by default. For scanning Windows XP/2003 machines please refer to the “Setting up Logon Script Scanning” section.
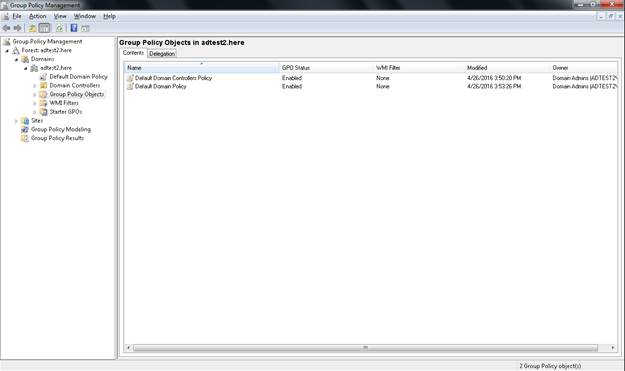
Launch Group Policy Management and select Group Policy Objects
Right-click blank space and select New
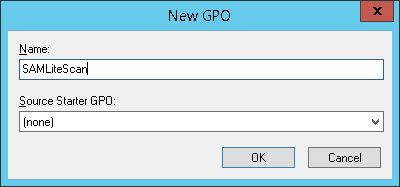
Right click on SAMLiteScan and select Edit, to set up the Scheduled tasks.
Note: this older type of Scheduled Task may be incompatible
with Windows 10 or Windows Server 2016 and newer operating systems. Please
refer to the next section for configuring the newer type of Schedule Task.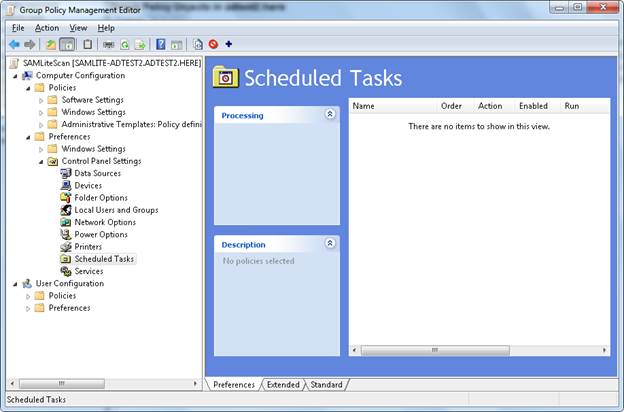
Go to Computer Configuration, Preferences, Control Panel Settings, Scheduled Tasks
Right click blank spot and select New -> Scheduled Task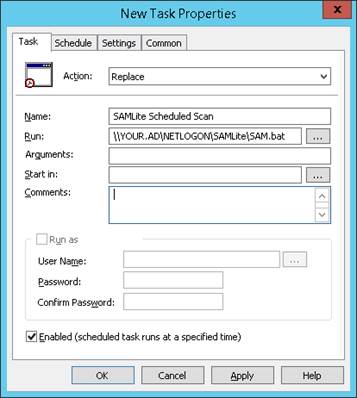
Replace Your.AD with your AD domain e.g. yourdomain.com
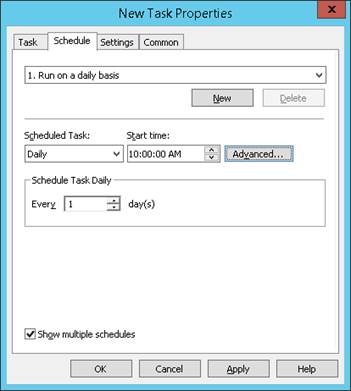
Then click on the Schedule tab, check Show Multiple Schedules and select a desired start time for the scan. Notice the 1. This means you are editing the first schedule.
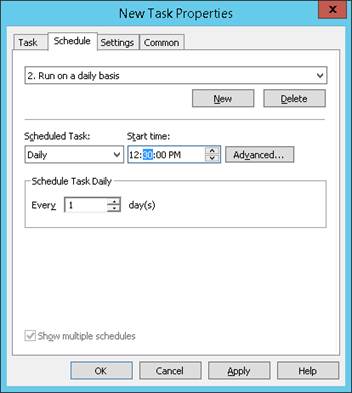
Click New to add more start times if you want. Notice the “2.” This means you are editing the second schedule.
Click on the Settings tab:
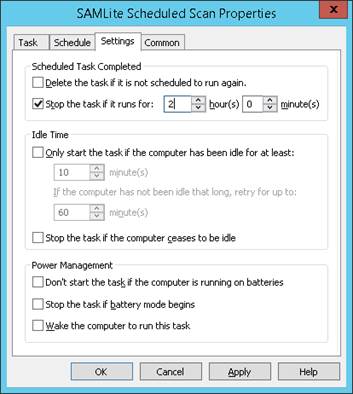
Stop task if it runs for 2 hours. Start task even if on batteries. Don’t stop if battery mode begins.
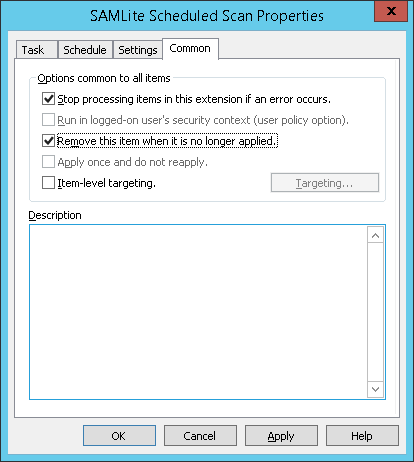
Common tab should look like the above. Ensure that “Remove this item when it is no longer applied” is selected so that the task is removed when the policy no longer applies.
This section is if you don’t have any computers with older Windows OSes and want to setup a Scheduled Task for Windows 7 and later operating systems.
Go to Computer Configuration, Preferences, Control Panel Settings, Scheduled Tasks
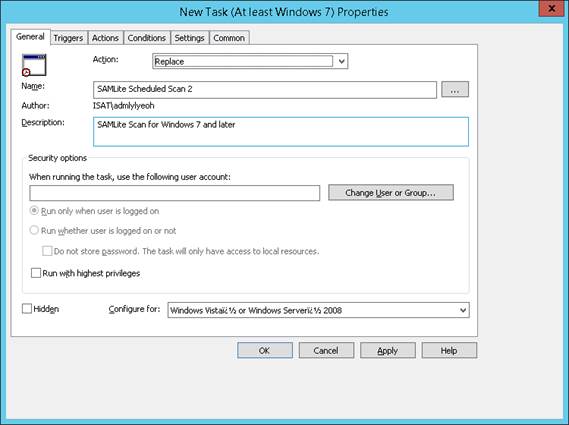
Right click blank spot and select New -> Scheduled Task (At Least Windows 7)
Click on Change User or Group.

Type system and click Check Names
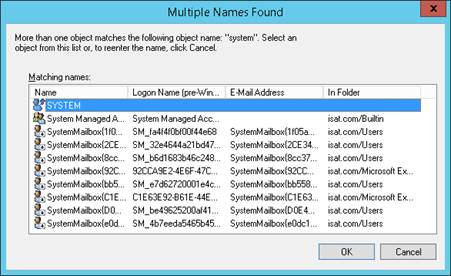
Select SYSTEM and click OK.
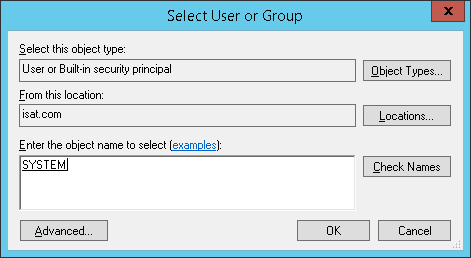
Click OK.
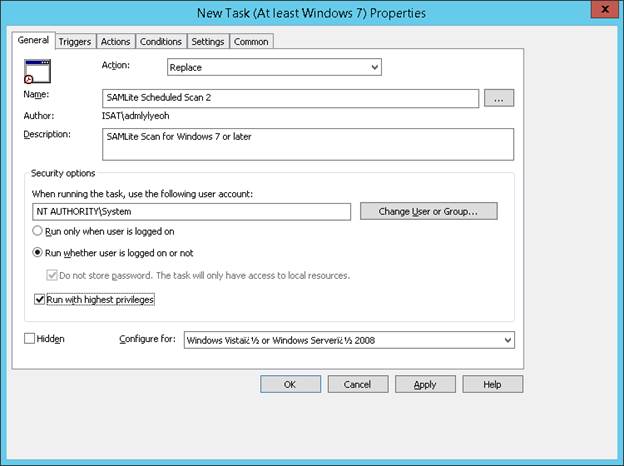
Select Run whether user is logged on or not. And Run with highest privileges.
Then click on the Triggers tab.
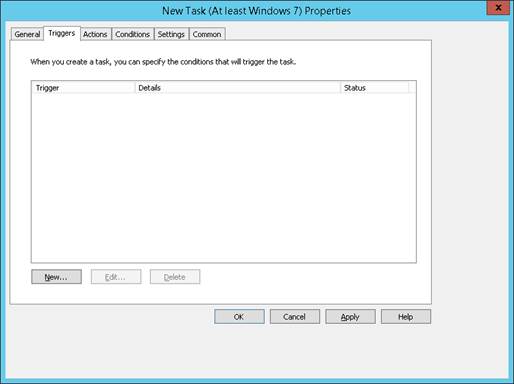
Click New to create a new trigger.
Click OK.
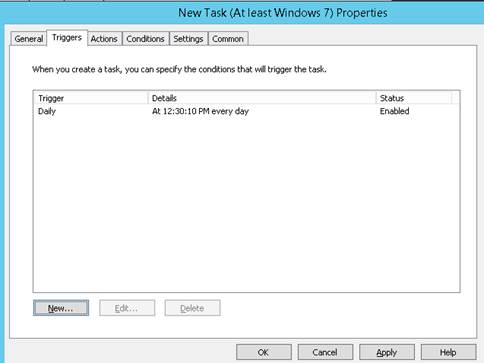
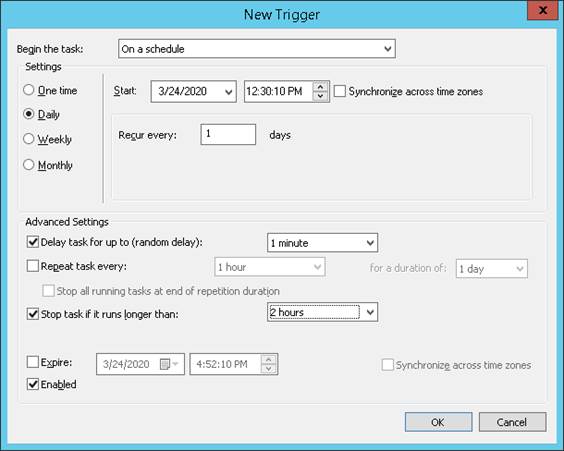
Create more triggers as desired. Example:
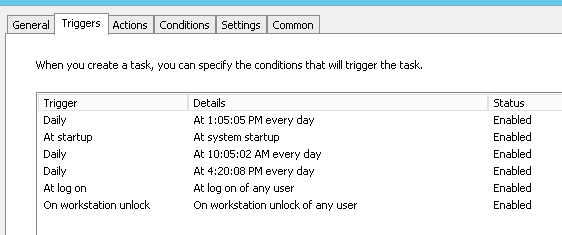
Some possible options:
· At startup = on machine startup
· At log on = at local logon or remote desktop logon (but not reconnect)
· On connection to user session (remote) - if remote desktop reconnect
· On connection to user session (local) - if reconnect to existing session locally.
· On workstation unlock - only if unlocking screen locally
· On an event – when an Event occurs (e.g. System, Microsoft-Windows-Power-Troubleshooter, Event ID:1 for wakeup/resume)
More than one trigger can be active. E.g. you can add “At log on” and “On workstation unlock”.
Suggested are a daily scan and a log on or start up and wake up event scan with delays of 1 minute or 30 minutes.
Next, click on the Action tab.
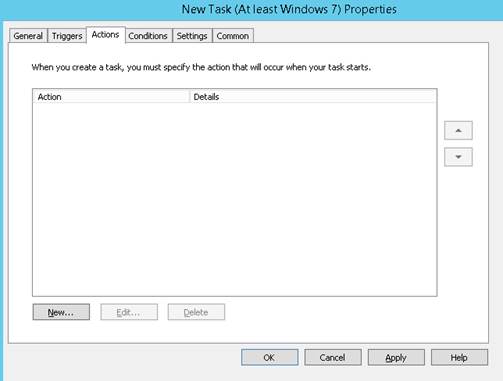
Click on New…
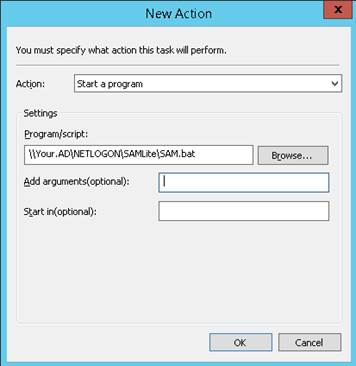
Replace Your.AD with your AD domain e.g. yourdomain.com
Click on the Conditions tab.
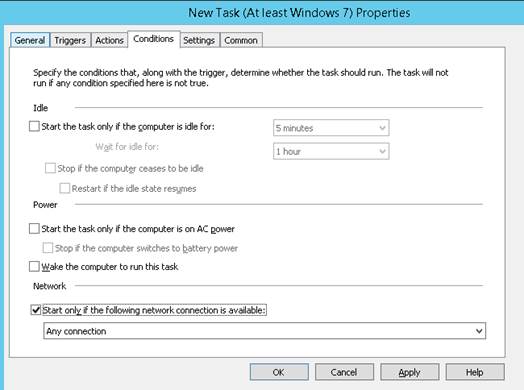
Start only if the computer might have network connectivity.
Click on the Settings tab.
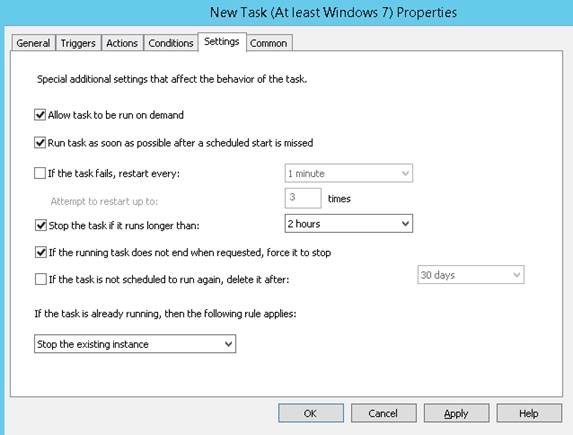
Recommended settings are as above. Click on the Common tab.
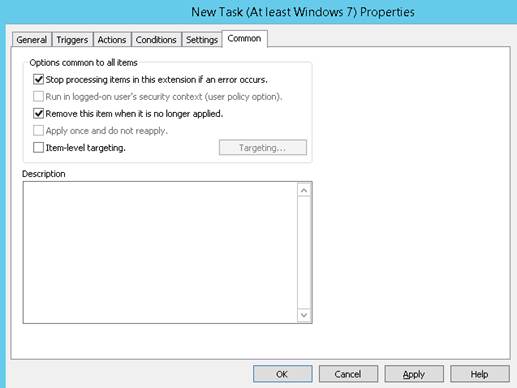
Recommended settings as above. Click OK.
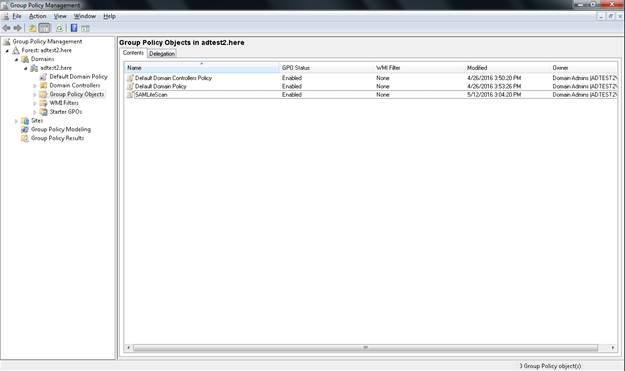
You now have created the SAMLiteScan group policy object.
Next link it to the domain or OUs you wish it to be applied to.
Right click on the target domain.
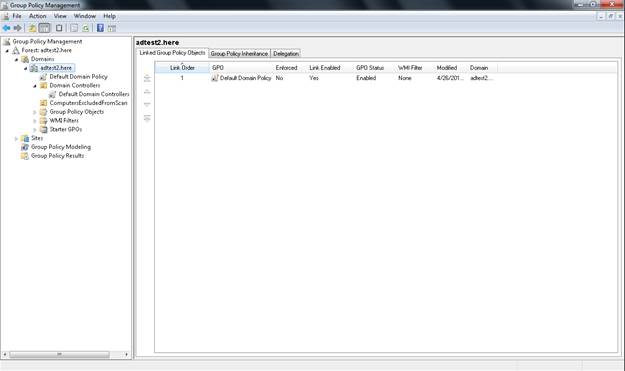
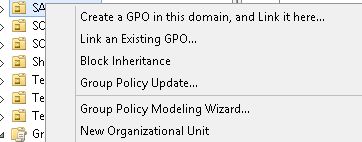
Select Link an Existing GPO.
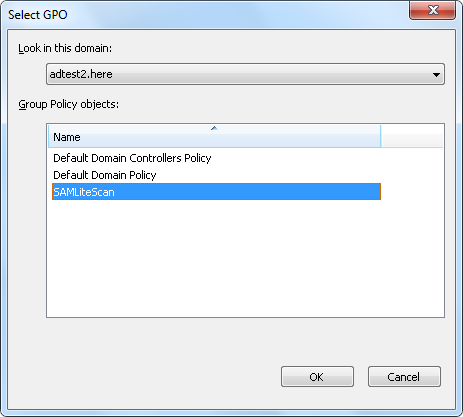
Select SAMLiteScan, click OK.
This method works on Windows XP/2003 machines. For more recent Windows versions it is recommended to use the Scheduled Task method which does not require users to logon regularly.
Launch Group Policy Management and select Group Policy Objects
Right-click blank space and select New
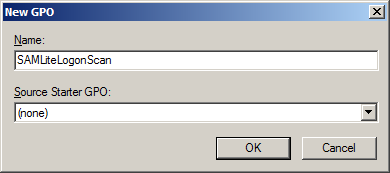
Click OK
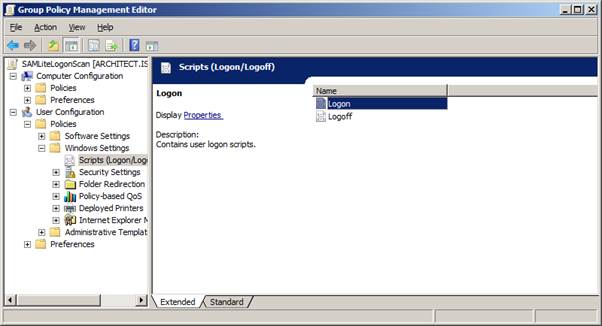
Edit the SAMLiteLogonScan policy and go to User Configuration, Policies, Windows Settings, Scripts (Logon/Logoff).
Right click Logon, click Properties.
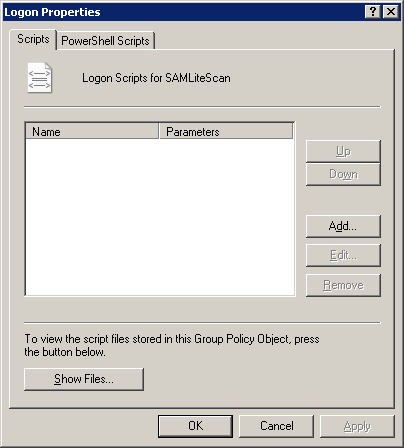
Click Show Files
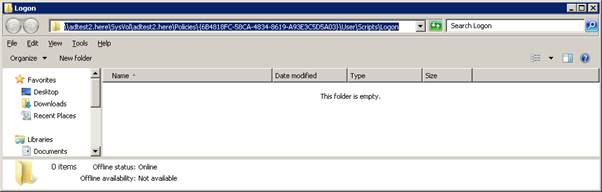
Copy the scan script files into this folder from: C:\Windows\SYSVOL\sysvol\domain\scripts\SAMLite
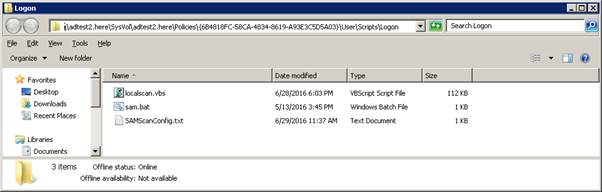
Close the window.
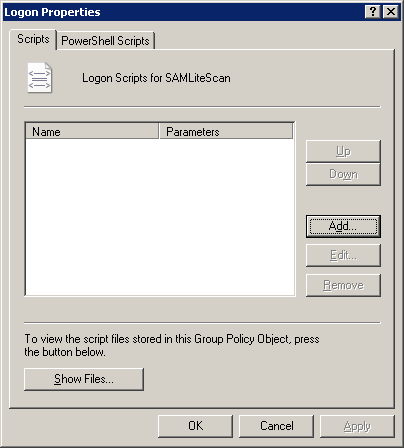
Go back to Logon Properties and click Add…
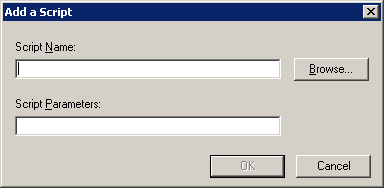
Click Browse.
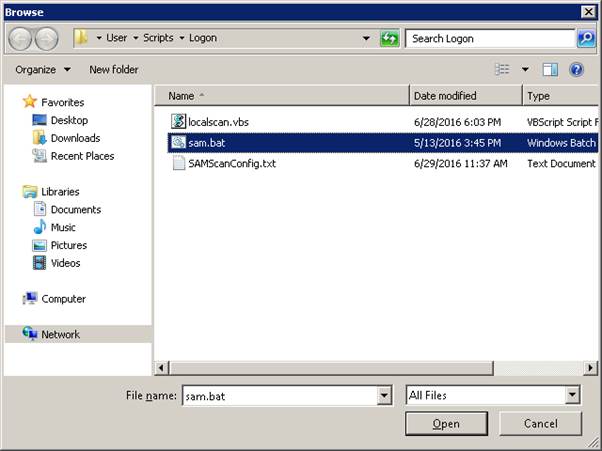
Select sam.bat and Open.
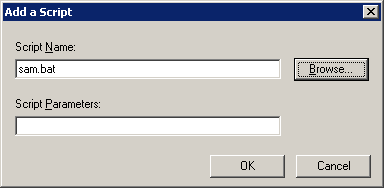
Click OK.
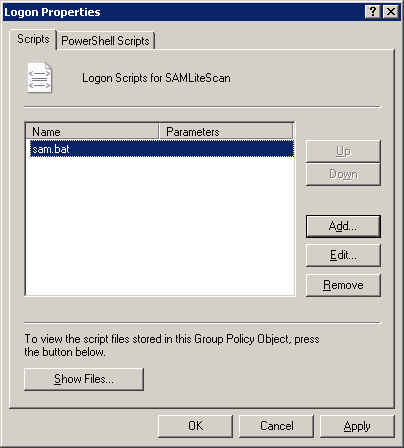
Click OK. And you are now done with Configuring Logon Script scanning.
Next create a WMI Filter for Windows XP and 2003 only. This is if you wish to limit the SAMLiteLogonScan policy to only XP and 2003 machines (the scheduled task policy will work for newer Windows OS).
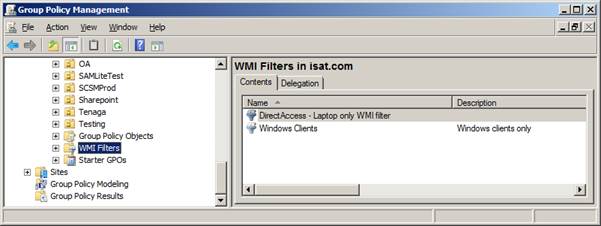
Right click in the blank space and select New…
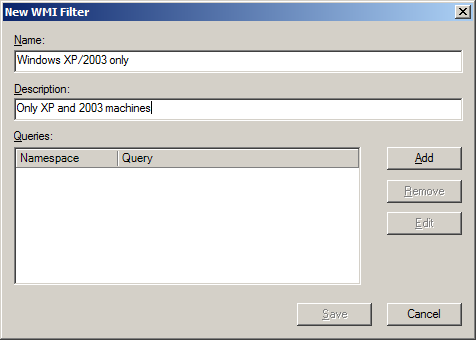
Click Add
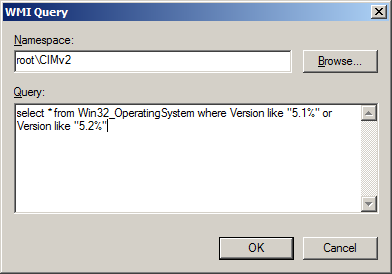
Set the query accordingly. Click OK
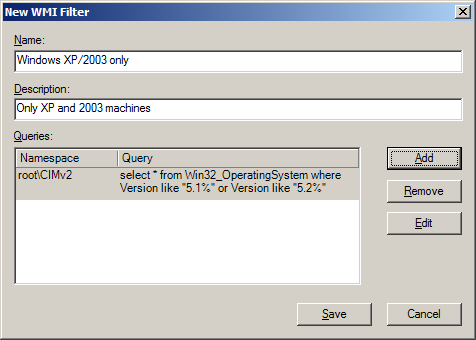
Click Save.
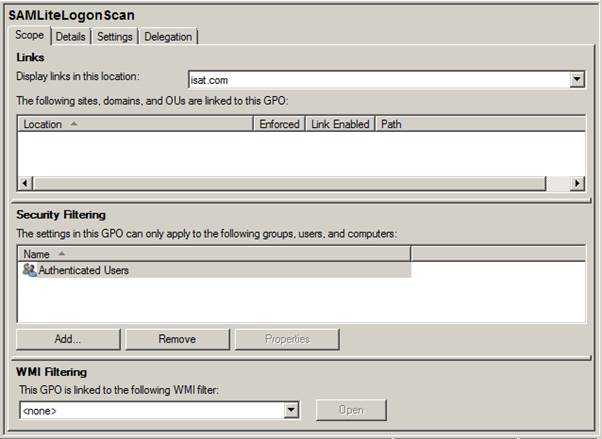
Select the SAMLiteLogonScan GPO.
Click on the drop-down in WMI Filtering and select “Windows XP/2003 only”
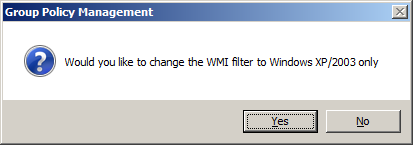
Click Yes.
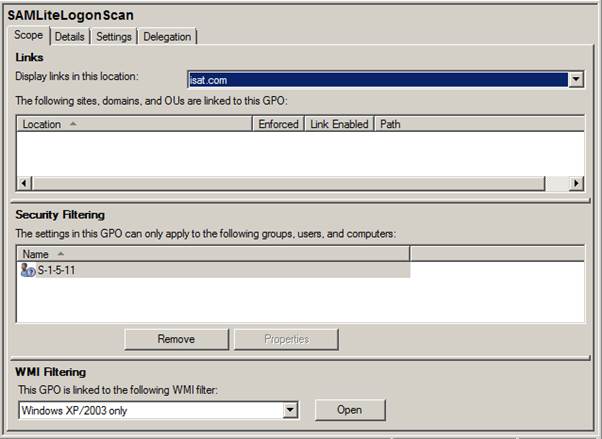
You now have created the SAMLiteLogonScan group policy object and ensured that it can only apply to the Windows XP/2003 machines.
You may also wish to add the Software Restriction policies to this group policy object. To do that refer to Section 2 “Adding Software Restriction Policies.”
Next link it to the domain you wish it to be applied to.
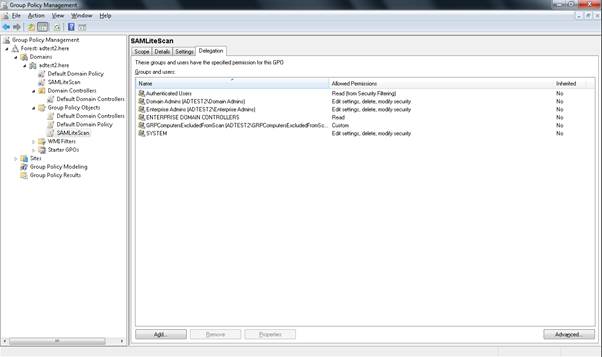
To apply the SAMLiteScan policy on only certain computers. Select the SAMLite Scan GPO then in the Security Filtering section remove Authenticated Users and add the Group containing the computers you want scanned.
To apply the SAMLiteScan policy on all computers except certain
computers or groups ( https://support.microsoft.com/en-us/kb/816100
) 
Click on Add…
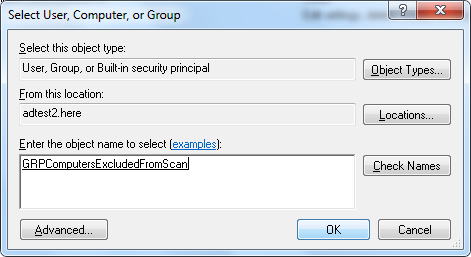
Add the object (click on Object Types and select Computers if you want to add Computers individually instead of groups)
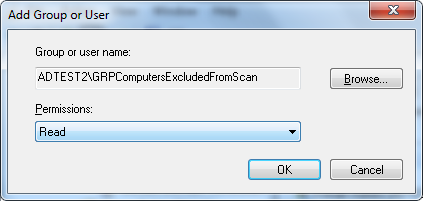
Click OK.
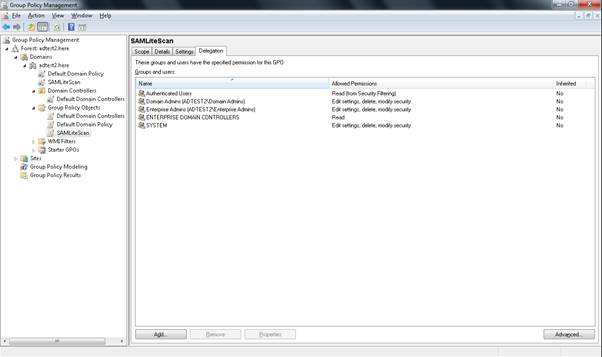
Then click on Advanced... (at bottom right of main GPMC console)
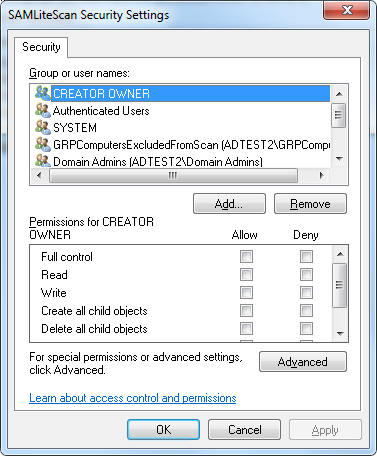
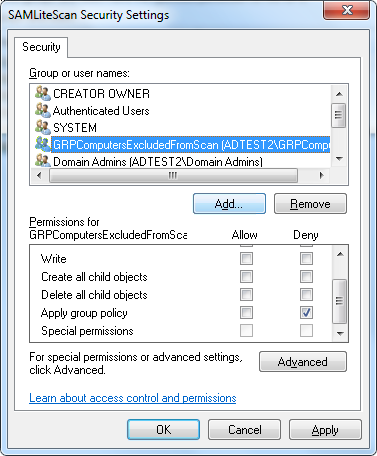
Select the object/group and scroll down in the permissions and click on Deny for “Apply group policy”
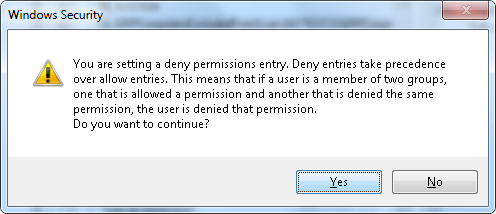
Click Yes
Note: policy changes due to a change in a machine’s group membership only take into effect after the machine is rebooted.